How To Keep Watercolor Paper From Warping
A large frustration for many novice watercolorists will be warping experienced whenever they make their watercolor paintings…
…and that makes complete sense!
After spending countless hours of hard work only to find your finish piece a warped and wavy mess can be disheartening to say to the least.
In this detailed guide, we are going to stop all those issues from happening the next time you go to paint.
But instead just simply stretching your watercolor paper (more in this in a minute) we are going to give you some key tips that expert watercolorists have been using for centuries in order to get the best results possible with their work.
Now before we get started – here is one quick note:
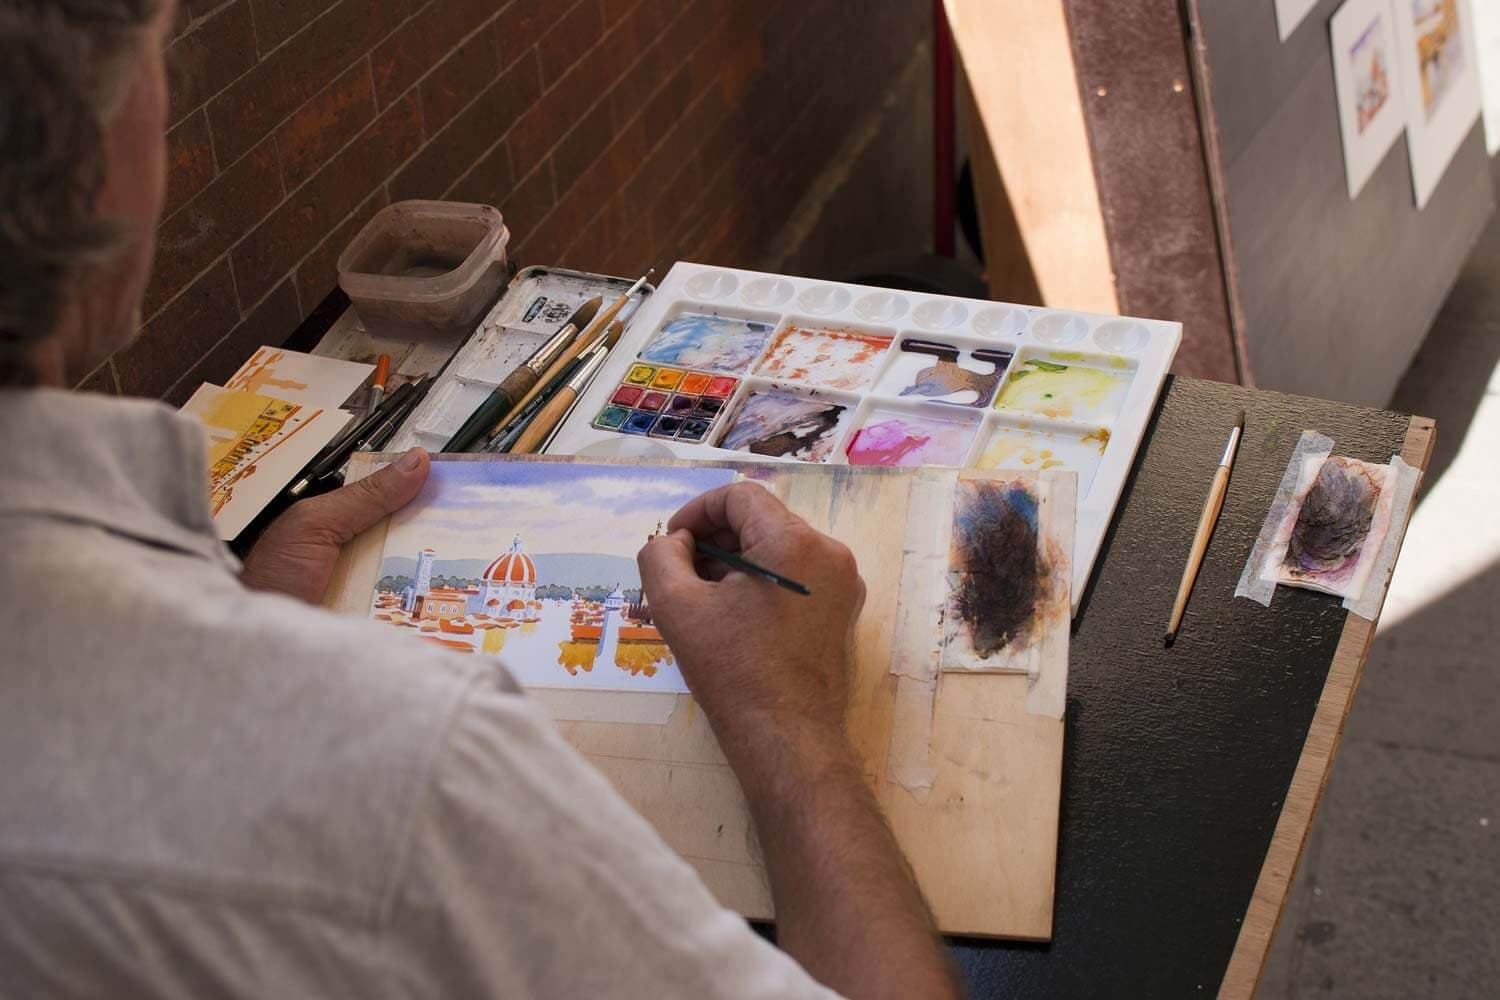
This article assumes that you are watercoloring onto a pad of paper or a single sheet.
If you aren’t up to all the steps listed below, that’s completely fine! For those watercolorists reading who just want to paint rather than worry about prepping their paper, we would recommend investing in a quality watercolor block.
In a recent roundup of the best watercolor papers, we found in our research that both Canson Montval and Arches watercolor blocks performed the absolute best.
Not only will a watercolor block ensure that your paper doesn’t wrinkle or warp, but the paper achieves the perfect balance between absorbency and texture as well.
What Is The Composition Of Your Next Piece?
Before you do the necessary prep work for your watercolor paper, it’s important to take a minute to think about the composition of your piece.
If you plan on doing a full watercolor painting that will encompass several layers of an initial wash, then you will need to follow all the steps below.
However, if you are doing a light sketch without an initial wash, while stretching your watercolor paper will be important, it won’t be imperative – especially for heavier weighted paper.
Therefore, depending on the goal of your next piece, you will want to take the above into account.
Proper Weight and Texture of Watercolor Paper You Should Be Using
When selecting a watercolor paper, you will find that it comes in three primary varieties:
- Cold pressed (sometimes referred to as NOT hot)
- Hot pressed
- Rough
Majority of watercolorists will paint on cold pressed paper.
When going to your local art supply store or big box retailer, you are likely going to find just cold pressed watercolor paper on hand as well.
This variety will give you both ample texture and absorbency in order to achieve great results.
Rough texture watercolor paper will give you a bit more texture while having maximum absorbency. In most cases, this variety of watercolor paper is handmade and will have a lofty price tag to match.
But beyond texture, you will also see weights associated with watercolor papers.
Given that many of the top brands are made outside of the USA, they follow the metric system regarding weight.
Most papers for watercolors will have a weight of 300 gsm (grams per square meter).
This is equivalent to 140lb paper weight.
Most watercolorists find this paper to be able to withhold ample amounts of water without buckling.
Depending on the number of layers you plan on applying with your watercolors may or may not determine if it should be stretched prior to painting.
Any paper with a weight greater than 300 gsm can likely be painted on without stretching. However, based on our research, we found that this paper is largely sold online instead of stores.
Here are a few options that we would recommend:
[Arches Cold Press Watercolor Pad](https://www.amazon.com/dp/B008N0BC2Y?tag=createlet-20) – A favorite among watercolorists everywhere. Has great texture and absorbency. One of the best watercolor papers currently available.
[Canson XL Watercolor Pad](https://www.amazon.com/dp/B004M59O4C?tag=createlet-20) – Affordable and heavy weight watercolor paper pad that is perfect for intermediate painters.
[Strathmore 300 Series Student Watercolor Pads](https://www.dickblick.com/products/strathmore-300-series-student-watercolor-pads/) – Student level watercolor paper that will be perfect for artists exploring watercolors for the very first time while still having a weight of 300 gsm.
How To Stretch Watercolor Paper For Best Results
Now there are a number of ways that watercolorists may stretch their paper.
However, we found that the most effective way is to employ what’s called the cold bath method.
The cold bath method is simple to follow at home and requires very little supplies:
- Cold tap water
- Bucket or tray
- Watercolor paper
- Clean sponge
- Gummed tape
- Clean and flat surface to affix your paper
Here are the steps:
- Fill up a bucket with cold tap water (for the purist artists out there that are striving for absolute perfect archival qualities, go with cold distilled water).
- Take your piece of watercolor paper and detach it from the pad so you have the single sheet and then simply dip it into your bucket.
- While you run your watercolor paper through the bucket of water, make sure that you don’t fold your paper to ensure that you won’t have any creases on the surface (we find that a larger buckets tend to work better).
- Place your paper on a flat surface and use a clean sponge to absorb excess water (goal here is to simply pick up extra water and not completely dry out the paper).
- Take your gummed tape and cut it to the length of the edges on your watercolor paper and then apply a light coat of water to the adhesive side of the tape with your sponge.
- Once your paper has been affixed to the surface, you can now begin painting!
Note: When you are done painting, you will want to either cut away the watercolor paper with an x-acto knife or gently lift the gummed tape. Oftentimes when you try to lift the gummed tape, remnants will remain on the watercolor paper itself. Due to this overly adhesive property of gummed tape, watercolorists may use drafting tape (masking tape) instead. While not as adhesive as gummed tape (which may cause light warping), masking tape will typically peel easily off your paper.
We also wanted to share this excellent video from DickBlick.com that perfectly demonstrates the cold bath method described above:
[Rectangular Bucket](https://www.amazon.com/dp/B00EO1NRUQ?tag=createlet-20) – A 3 gallon bucket that is 14” long should be able to accommodate most small and medium scale watercolor papers.
[Gummed Paper Tape For Watercolor Paper](https://www.amazon.com/dp/B0026S8KCE?tag=createlet-20) – Extra wide (2.8”) tape is perfect for applying to watercolor paper.
Drying Your Watercolor Painting Properly
After you have finished your watercolor painting, it’s important that you dry it properly.
While watercolors naturally dry relatively quick (especially when compared to oil paints), many watercolorists will exercise patience and let their piece air dry.
However, if you are under any sort of time crunch, or just simply don’t have an extra 30 minutes in your workflow, you should never apply direct heat to your piece.
While likely not going to cause any pronounced issues to the pigment or binding agent themselves, directly applying heat to your piece (i.e. with a hair dryer), will be a drastic change in temperature that will completely warp or deteriorate the fibers that make up the watercolor paper itself.
Even top rated brands won’t be able to sustain such harsh conditions for long.
So, if you must dry it quickly, apply cool air or let it rest in a well-ventilated room.
Ways To Flatten Existing Watercolor Paintings (Proceed With Caution)
While you may have come to guide to see how to prevent future paintings from warping, we wanted to share a few tips that we found other watercolorists using to flatten a completed piece.
Now we want to say this, proceed at your own risk!
Iron Method
Of all the methods mentioned in this section, simply using an iron will be the most popular.
Here’s what you can do:
- Simply take your painting, place it painting side down on an ironing board.
- Place a cloth (hand towel or wash cloth) on top of the piece (single layer should be fine).
- Set your iron to low-medium/medium heat. Make sure the steam is off as you don’t want additional water onto your piece
- Iron until painting is fully flattened
Note: Some artists may place a piece of foil or a thin sheet of metal between the painting and the cloth. This can help to dissipate the heat while also making for a much more rigid and flatter surface. If you have the materials readily available, you may want to try this.
Mattress Method
Simply put the artwork between two thin books or magazines and place them under your mattress.
After a few days pass your paper should now be a bit less warped.
Long Term Solution To Stretching Watercolor Pieces
While some watercolorists don’t mind employing the bath method when they go to paint their next piece, other artists may simply just want to get started with painting right away.
For those time-pressed artists, the best option will be the watercolor block.
Their convenience of having the watercolor paper pre-stretched is well worth the premium.
[Strathmore Watercolor Block](https://www.amazon.com/dp/B004O7E678?tag=createlet-20) – Affordable watercolor block that is great for students and beginners. This pre-stretched block is weighted at 300 gsm and acid free. Comes with 15 sheets.
[Canvas Montval Watercolor Block](https://www.amazon.com/dp/B00F3D7GF6?tag=createlet-20) – Winner of our [best watercolor paper for plein air](https://createlet.com/best-watercolor-paper/), this offering by Canvas is terrific for intermediate watercolorists. Comes in a variety of sizes.
[Arches Watercolor Block](https://www.amazon.com/dp/B0007XDHGO?tag=createlet-20) – Considered by many to be one of the best watercolor papers on the market. 100% cotton paper will elevate your artwork and is a dream to paint on.