As you get more comfortable with colored pencils, its time to really start pushing your limits.
Like most mediums including oil pastels, watercolors, and countless others – they can be manipulated in various ways to create stunning effects.
Today we are going to talk about blending.
Why?
Of all the techniques and effects with colored pencils, blending is by far one of the easiest to learn, yet toughest to master.
When not done properly, an attempt to blend colored pencils will look as such – an attempt, not a clean execution.
Before we jump into a few pointers on how to better blend your pencils, we first want to cover the composition of colored pencils (this stuff is important and worth understanding).
Table of Contents
Colored Pencil Composition Is Key To Better Blending
Now normally most would think that what a product is made of is ancillary.
However, this couldn’t be further from the truth when talking about colored pencils.
To blend or manipulate this medium, its important to understand what colored pencils are specifically made from in order for us to easily create effects (and even new techniques) that will bring your most imaginative works to life.
When looking at the composition of colored pencils, you will find that they primarily rely on any one of the two ingredients:
- Wax
- Oil
Each of these have their own set of characteristics that can be altered or changed both before and after the pencil is applied to the paper.
Wax
When looking at colored pencils you will find that some brands (i.e. Prismacolor, Derwent, etc.) contain a wax core that is combined with pigment.
Therefore, when applied to your favorite paper for colored pencils, the results are slightly slick, yet still vibrant.
As such, there are only certain solvents and tools that will work effectively in moving the wax around on the paper once it has been applied (we will go over these details in just a moment).
Unless the company states otherwise, assume that it’s wax in your colored pencils.
Oil
Counter to wax, you will have some colored pencils that like to carry quite a bit of oil in their core (Faber Castell Polychromos come to mind).
This creates a much softer lead that out of the box blends a bit better.
However, from a chemical stand point, oil based colored pencils will be starkly different from wax based pencil and require different solvents in order to break down (i.e. dissolve) the oil and push the pigment around on the surface.

Techniques To Blending Colored Pencils Effectively
Now that we have a little bit more understanding on what’s in your favorite colored pencils, lets now focus on the important part – blending them.
Within the world of blending colored pencils, there are essentially 4 key tools and methods that you can use for blending – which include the following:
- Solvents
- White Colored Pencil
- Colorless Blenders
- Tortillons
We are going to take a bit of time to talk about each one a bit further in detail:
Solvents
One of the most effective and easiest ways to manipulate a colored pencil after it is applied to the paper will be through the use of solvents.
Depending on the base ingredient (remember wax or oil), you will want to choose the appropriate solvent.
Not selecting the right one will simply be a waste of money along with less than desirable results.
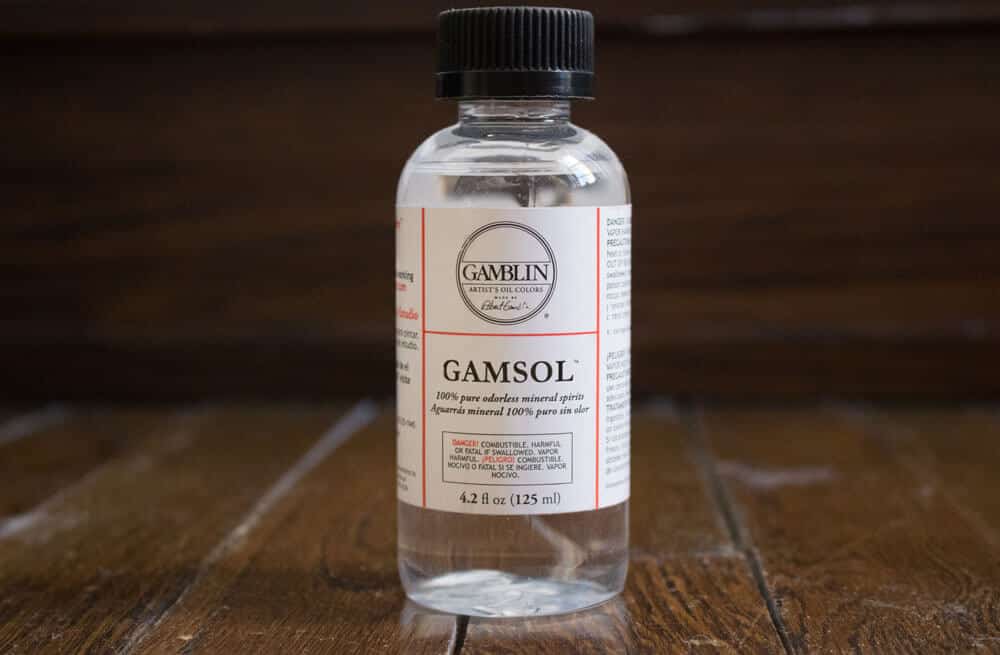
If you come from an oil painting background and have oil based colored pencils, then you will instantly know what you can use – odorless mineral spirits or turpentine.
Either one of these studio safe solvents can completely dissolve the colored pencil with ease – just be sure that you don’t overdo it (as it can quickly destroy your drawing), and also make sure that you use an artist grade solvent.
Using solvents purchased at the hardware store are intended for outdoor use, contain lots of impurities, and often cause headaches that definitely won’t feel comfortable.
Opposite of oil based colored pencils you will have wax.
While some artists like to recommend alcohol or baby oil as a solvent for colored pencils, we feel that it delivers lackluster results.
According to this post, and countless others across the web, if the wax in your colored pencil is paraffin wax*, you will want to use a solvent such as xylene (found in this blender by Chartpak) as it will do a much better job when compared to other household ingredients.
*If you want to know the exact wax used to make your colored pencil, we recommend reaching out to the manufacturer and simply ask them for clarification.
White Colored Pencil
Solvents aside, one great way to get uniform and consistent blends in your artwork is to use a white colored pencil (or whatever color the surface is that you are drawing on) as a way to manipulate this medium.
Unfortunately, when applying a colored pencil to many papers, the white texture of the paper seeps through.
However, when applying a white base then adding your 2 or 3 colors on top of it, you can get much more seamless blends between the color hues.
Colorless Blenders
Perfect for wax based colored pencils, colorless blenders such as this one from Prismacolor are perfect for pushing around the medium on the paper.
This blender is simply just the colored pencil without the pigment (i.e. straight wax).
For best results, you will want to use a blender pencil from the brand that you colored pencils come from as this will contain the same exact wax composition as those that are on the paper.
If unsure, mixing across brands will of course be ok too.
In addition to pushing existing strokes and colors, you can also use colorless blender as a base and apply colored pencils on top of it (just like what we covered in the white colored pencil method).
Tortillons
Primarily used in both pastel and graphite drawings, tortillons (sometimes referred as blending stumps), are simply wound up pieces of compressed paper.
Able to work with both wax and oil based colored pencils, this is by far the most “physical” way to blend your colored pencils.
The reason why we say “physical” is that in order to get clean blends on the surface, you will be just simply pushing the pigment and binder on the paper until it gets to your preference with the tortillon.
Video Of How To Blend Colored Pencils
In the age of YouTube there is both a lot of really good and really bad advice out there.
However, we came across this video by Fadil that expertly walks us through some of the most popular blending techniques you can use with your colored pencils.
After watching the video, if there is any feedback or critiques we would like to add, it would be around the solvent portion.
While Fadil does note that you can use odorless mineral spirits or turpentine, the use of baby oil is ok (its essentially liquid paraffin), we think the results would have been a bit better with xylene or a similar solvent.
But do check out this 18-minute video, we think it’s definitely worth the time investment in sitting through the whole thing:
What Is Art?
Whenever writing articles about techniques and manipulation of mediums on a surface (i.e. see oil pastel techniques, etc.) we can’t help but question our understanding of art.
We pose this question to you – if you are using oil based colored pencils on canvas and use odorless mineral spirits to manipulate the medium, is it really technically a colored pencil drawing at this point?
How does this really differ from an oil pastel drawing or even an oil painting?
Really, it’s all just a pigment on a surface that is getting moved around, right?
Anyhow, we wanted to leave you with that little bit to chew on and think about.
If there is anything that we have understood more and more as this site develops its that art is an amazing form of expression.
Furthermore, in order to get good as an artist, one must understand the fundamentals, experiment, and push the limits.
But no matter the medium, its always most important to make sure that you have a bit of fun when making art!