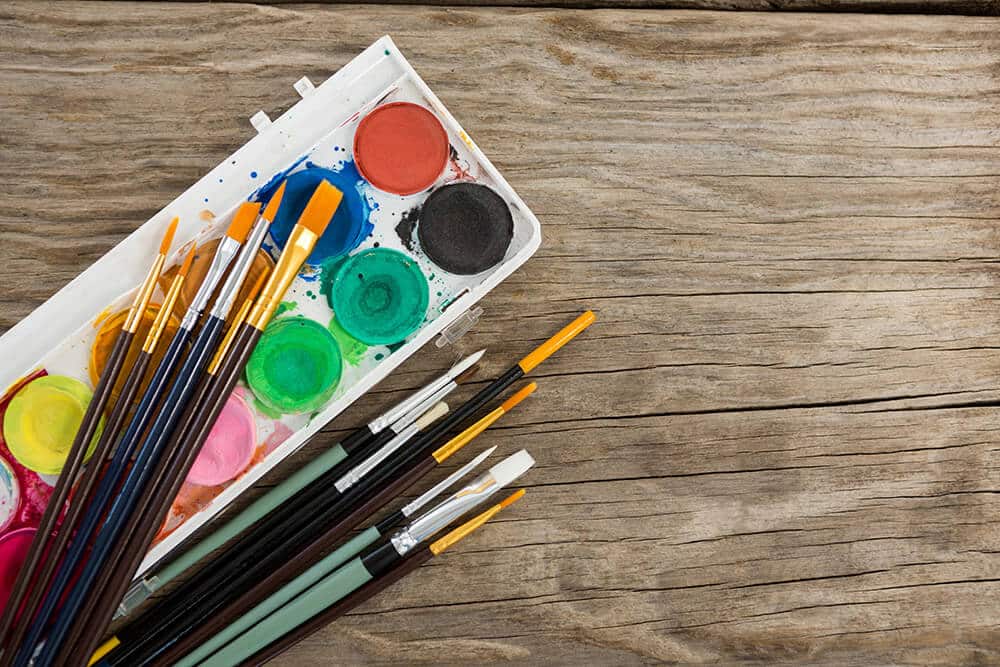
When it comes to the act of painting, many beginning artists may take their first stab at watercolors.
Their distinct style coupled with their relative ease of use (but tough to master), make them great for painting.
With watercolor papers available in many differing shapes, sizes, and form factors (personally I love my watercolor notebook when painting in the field), one surface that leaves many watercolorists wanting to try is wood.
Wood is a very unique surface in many aspects.
Naturally, the grain on the surface can be absolutely beautiful and give your watercolor painting a whole other dimension.
Secondly, wood can also make for an incredibly unique piece that stands out from the rest of the pack.
As beautiful as wood is, there is a catch:
More often than not, you don’t want to just simply get a slab of wood and start painting on it immediately.
Not only could there be some absorption issues with a thinner watercolor paint, but also the results may not be exactly what you are looking for.
In today’s article we wanted to go over all the facets of using watercolors on wood.
From the preparation to the painting and preservation, here is everything you will need to know in order to get the absolute best results for your next piece:
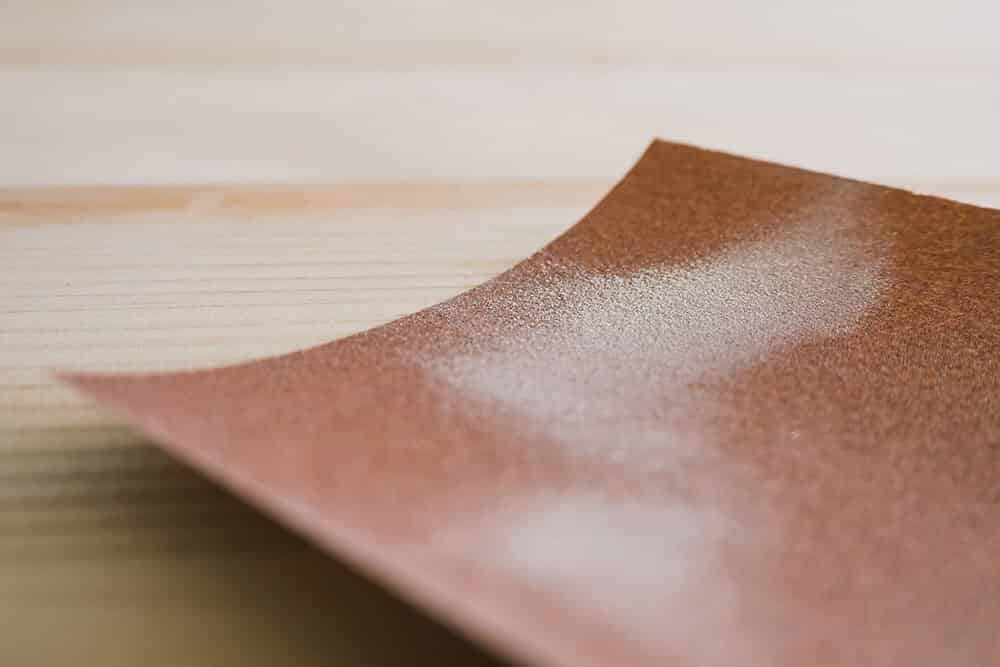
Table of Contents
Prepping The Wood For Watercolor
Depending on the source of wood that you plan on using, there will likely need to be additional prep work before you lay down any watercolors to the surface.
Here are some general guidelines you will want to follow:
Sanding Your Wood
If you are using an existing piece of wood that wasn’t purchased from your local or online art retailer, you are going to make sure that the surface will work with your watercolor paints.
We like to recommend that you go with a finer grit of sandpaper, typically something between the ranges of 360 to 600 will not only give you a bit of tooth to work with, but won’t make the surface of the piece too coarse (further information on grit sizes).
As always, when it comes to sanding, you are going to want to make sure that you do it in a well-ventilated area.
Especially when using such a fine grit sandpaper, particles are going to be much more susceptible to flying through the air which make cause respiratory or eye irritation (or both).
Dust Removal
As you will find out, when you begin using watercolor paints on wood, too many fibers from the surface may get in the way of your painting.
While the goal is to create some sort of texture with this surface, too much wood make not only cause clumping, but also yield some control challenges for you.
While you can simply attempt to blow off a vast majority of the wood shavings with your mouth (again, make sure you are in a well-ventilated area), we like to suggest either one of the following:
Vacuum – With the bristle brush attachment, simply place the wood panel on the floor and go over the surface several times. Not only do you want to make sure you go with the grain of the wood across the grain as well.
This should give you the best results of a clean surface to work with.
Compressed Air – Many folks reading this may have a handy can of compressed air next to their computer. These should be more than sufficient in getting even the tiniest of shavings knocked free from even the smallest of crevices (you will definitely want to use this outside).
Priming Your Wood For Watercolor Paints
While nearly all watercolor paints are made with gum arabic, this binding agent will have mild difficulties in sticking to your wood panel.
While the following prep work that we went over so far should be more than sufficient in allowing you to fully use your watercolors, other artists like to take additional measures on the surface.
Here are some common primers that watercolorists will employ when using watercolors on wood:
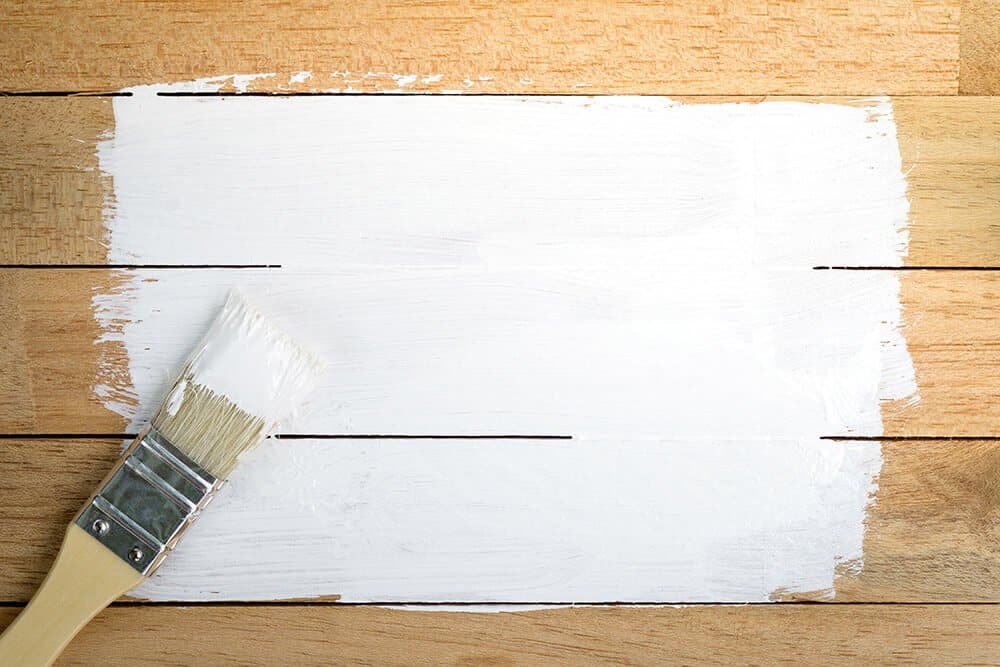
Gesso
If you aren’t familiar with what gesso, here’s the essentials:
Gesso is used by artists across all painting mediums.
Acting as a primer, this key product will allow you to paint on almost anything (source).
A classic example that we often use when talking about gesso is with canvas and oil paints.
If you have ever attempt to use oil paints on an unprepared canvas, you will immediately realize just how much of your paint will be absorbed into the fabric.
Nearly all the canvases you purchase online or at the local craft store have been prepped with some sort of primer (typically gesso, or some close relation to gesso).
This not only will help to harden the surface a bit more, but this cheaper paint will be absorbed into the fabric of canvas allowing you to use considerably less oil paints (and ultimately save you a lot of money).
How does this relate to watercolor painting on wood?
Simple:
When you start to paint with watercolors, unlike paper that you are so accustomed to working with, the grain of the wood panel that you work with, once sanded, will draw a large amount of the watercolors deep beneath the surface.
Gesso, just like when its used on canvases for oil painting, will prevent a large waste of your watercolors on the wood…
…but here’s a catch:
When you use gesso on your prepped wood panel, you are going to lose that lovely grain look…
…which can understandably be a deal breaker for many.
After all, if you wanted to paint on a solid white surface, wouldn’t you just stick to your watercolor paper?
Well…
The reason why watercolorists will still use gesso on wood is that they still make see a little bit of grain come through to the surface (assuming you make a very light coat).
In addition, you can also give the gesso a very light sanding with a fine grit sandpaper to get back close to the grain level.
But, there is another alternative to gesso that’s worth knowing about:
Watercolor Ground
If you spend countless hours scouring forums or asking other watercolorists what they use to prime their non-traditional surfaces, very few of them know about this product…
…not only is it somewhat obscure, but there is really nothing else like it.
Daniel Smith Watercolor Ground.
Coming in 6 different options:
- Buff Titanium
- Iridescent Gold
- Mars Black
- Pearlescent White
- Titanium White
- Transparent
This is by and far the best primer that you can use when painting your next watercolor on wood.
The several different finishing options, will give you the ultimate flexibility on the look you are going for.
My personal favorite is the iridescent gold, here’s why:
Iridescent gold, while as you may guess, carries a gold hue to it, the semi-transparent liquid will still allow the wood grain to show through in your finished piece.
Think of it this way:
If you are familiar with any piece of photo editing software such as iPhoto, Photoshop, etc., you likely know about the contrast toggle (you know that one option that can REALLY boost the colors).
A thin application of this gold iridescent coating will make your wood panel look much more vibrant without looking fake or synthetic.
But it doesn’t end there:
While we don’t want to veer too far off topic as we are largely concerned with watercolor paintings on wood in this article, it’s worth knowing that this particular primer isn’t just for wood.
No.
In fact, you can use it on fabric, metal, plastic, and even glass.
This will truly expand your options when it comes to watercolor painting!
How To Paint Watercolor On Wood Panel
Depending on how thick or thin you like your watercolors, many artists prefer to paint their wood panels on a flat surface.
However, a lot of this depends on the prep work that you have done and of course, experience.
Since no two panels are alike nor is the sanding process and primer application, it will largely be a judgement call.
You will have to take into consideration how quickly the paint is absorbing into the piece and the consistency of the watercolor mixture itself.
Therefore, do what works best for both you and your painting!
Sealing Watercolor On Wood With The Right Varnish
Varnishes are great for archival purposes.
If it’s a commissioned piece or simply one that you plan on hanging for self-pleasure, a varnish will help to preserve the painting for years.
Also a simple varnish can really help to ensure that your painting presents well should you live in areas where high humidity may commonly be a factor (i.e. Florida).
While many artists may never varnish their work when it’s on a piece of paper that is presented behind a plate of glass, when it comes to the raw nature of wood, you will want to make sure you add a top layer of varnish.
Given that gum arabic is a relatively fragile binding agent when compared to the thick and rich nature of linseed oil that is found in most oil paints, you will want to exercise caution.
Specifically, varnishes like this one from Krylon will not only give finished watercolor piece the protection it needs, but it also dries relatively fast (under 15 minutes) and will prevent any sort of discoloration of the pigment itself.
Secondly, as this is a major concern shared by many artists who use watercolors on wood, this particular varnish won’t yellow at all – making it perfect to ensure that your finished piece doesn’t look washed out or less vibrant.
Watercoloring on Almost Wood
While some of the above prep work may be a bit too much for some artists who just simply want to get a panel and go, for those we would recommend checking out Aquaboard.
The surface of Aquaboard isn’t wood…
…instead it is textured clay!
While that wood grain you might be looking for is absent, Aquaboard is perfect for artists who are frustrated with the tearing or shrinking of their standard paper but want a surface with a bit more backbone like wood.
We thought that this surface was definitely worth a mention, as it carries many of the same absorbency and rigid properties of wood – with no fuss of prep.
Taking Command Of Watercolor On Wood
While the above guidelines are perfect for any artist that is dipping their toes (or brushes) in to painting on wood panels, these are just starting points.
Along your journey of becoming a better artist, you will quickly learn what does work and doesn’t within your particular workflow.
Secondly, once you have prepped a few panels and primed them appropriately, the process of painting on wood panels will become increasingly easier.
Now, while our above guidelines are for prepped panels that you may purchase in bulk at an art retailer, many of these same principles will remain when using naturally sourced wood as well.
Just remember, a bit of grit coupled with a light coat of priming are the two key takeaways to get better results when using your watercolors on alternative surfaces.