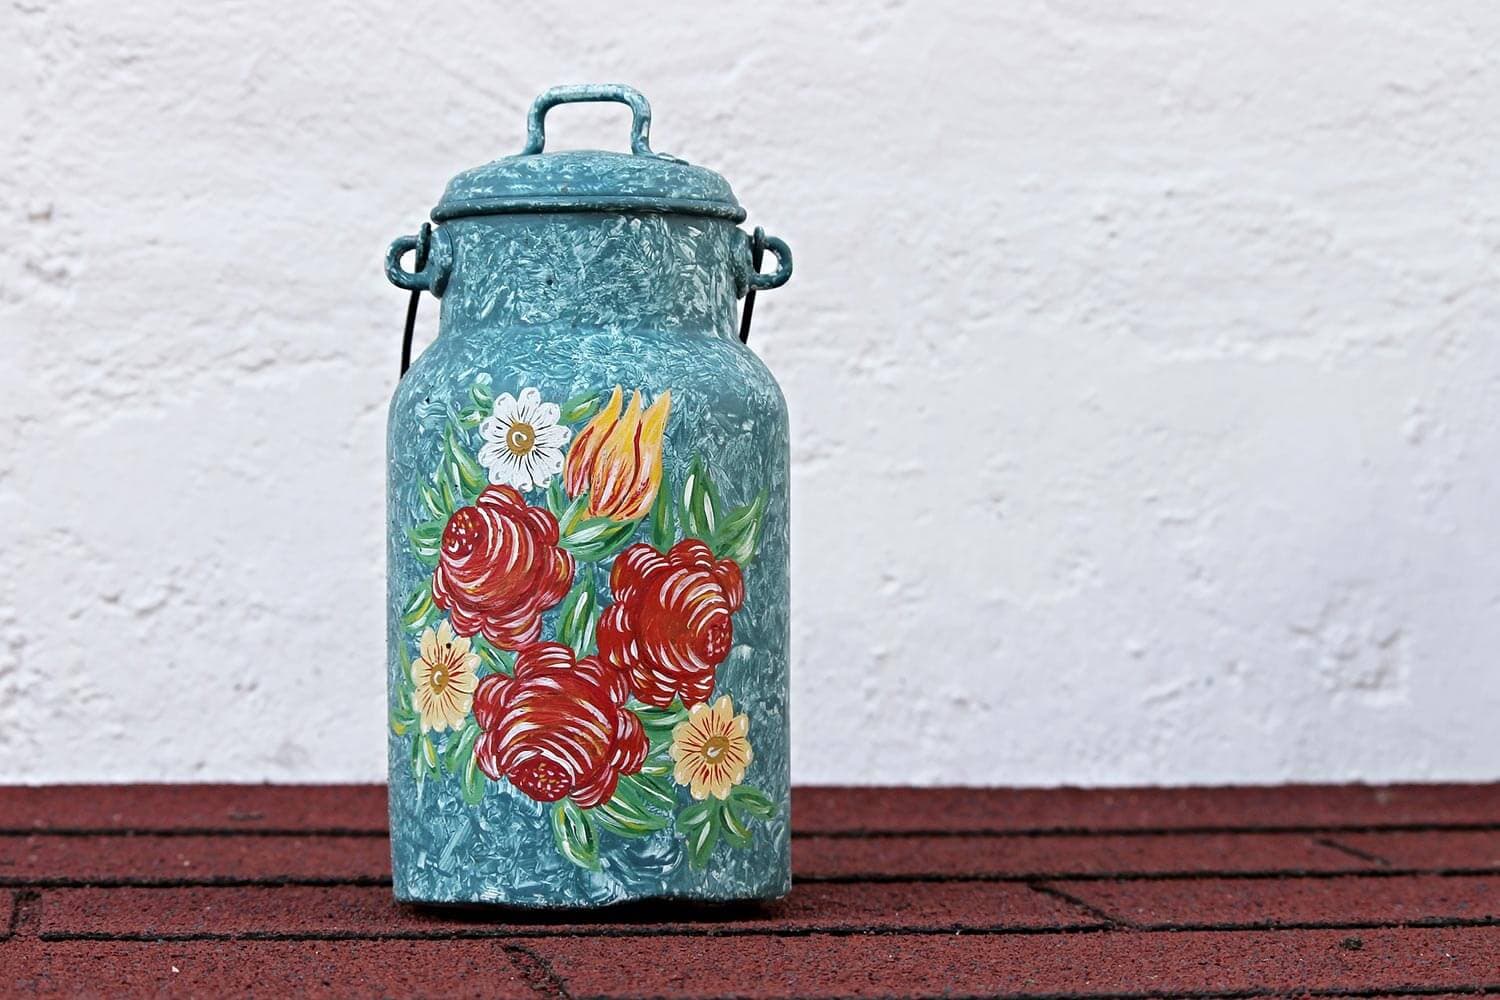
Painting On Metal: A Step-By-Step Guide For Beginners

This post may contain affiliate links. We may receive a commission on products purchased through these links. To read how this site makes money click here.

One of the great joys that comes with painting is the ability to select from a wide array of surfaces.

While we just covered in a previous post some key tips when painting on canvas, we wanted to switch gears a bit and look at another, yet more complex surface:

Metal.

Metal (copper, steel, aluminum, etc.), like canvas has been a beloved surface used by artists over many centuries.

In fact, when Nicolas Lancret painted the Brother Philippe’s Geese in 1736, he used oil on copper.

Or another classic work would be Aeneas and the Sibyl in the Underworld where Jan Brueghel the Younger also used oil on copper in 1600.

As seen in a couple noted works above that currently hang in the world’s most beloved museums, you don’t have to look far to find a piece that uses this somewhat unorthodox surface.

While we will get into all the great benefits of using metal below, we first want to give you the answer that you probably came here looking for:

How on earth do I paint on metal?!

Below we are going to break it down on a step-by-step basis and give you all the essentials you need to know in order to get you back into the studio as soon as possible!

Let’s get started:

Painting On Metal Requires A Squeaky Clean Surface

Depending on where you sourced your sheet of metal, this step may or may not be necessary for your particular scenario.

If you got your piece of metal from the garage, or better yet, the local scrap yard, you might want to first make sure your tetanus shot is up to date 🙂

But after that you are going to have some cleaning to do!

As with any surface you paint on, you are going to want to make sure that you start out clean.

Not only will this ensure that no left over particles get swept up into your painting and cause undesired effects, but will ultimately help you get a bit better of results when you finally paint your piece.

For this step, I would like to recommend fellow artists to use a bit of dishwashing soap (i.e. Dawn, Palmolive, etc.) along with a rough scouring pad (i.e. Scotch Brite, etc.) that will be able to fully remove any buildup on the metal surface.

It’s important to note that during the process, our goal here isn’t necessarily to make as smooth a surface as possible, but instead strive for cleanliness.

painting on metal with rust

But What About Rust Build Up?

Of course if you find yourself going through old scrap metal looking for a passable surface, you are likely going to be met with a fair bit of rust.

While the dishwashing detergent + scouring pad outlined above may help remove any mild surface debris, when it comes to rust you will have to take a slightly different approach.

Now here’s the deal with rust:

While rust can add a great dimension to your painting, when mixed with your medium, it can wreak havoc.

Not only can it completely alter the tone of your piece, but it can also make the final results look sloppy as well.

Therefore, we recommend that you use a metal brush to knock free many of the large pieces.

While we wouldn’t recommend a grill brush per se, but a brush of similar nature can help to not only provide leverage on the surface so you can scrape off the large flakes with ease.

A longer handle will also help to keep your skin, mouth, and eyes further away from the surface as the dust will likely kick up.

A compact (and cheap) brush like this one should be more than sufficient for most cases.

painting on copper

When Painting On Metal, You Must Have Ample Tooth

Unless you are working solely with acrylic, which let’s face it, sticks to just about anything you throw at it, you are going to want to build up a texture on the surface of the metal.

Not only will a rougher texture give the surface some ‘tooth’ for the paint to adhere too, but it will also help to prevent the finished piece from peeling off or cracking as it dries.

In order to build an acceptable texture on the surface, I would recommend going with a 300 grit sandpaper.

You can typically this grit of sandpaper at your local hardware store.

Or if you are looking for a bit more versatility, then perhaps a variety pack of sandpaper will be a better alternative as this will allow more creativity with different grits.

Once the metal surface has been sanded to your preference, we would recommend wiping it clean with a cloth.

gesso on metal priming

Making Your Surface Ready For Prime Time

Now regular readers will already be familiar with my love for gesso – if not you can read about it here.

Gesso, is always used as the primer you lay down on a surface before you apply your medium of choice.

However, there’s a catch when it comes to painting on metal:

Standard gesso just simply won’t cut it.

In fact, you are going to want to use a completely different type of primer – self-etching primer.

Now, I know just about any person reading this right now will instantly think:

“Do I really have to use this stuff?!”

…and to be honest, you wouldn’t be alone.

When looking at both of these primers, they sound similar (i.e. both used to achieve similar results), but when you flip the label around, you can easily see how they both drastically differ from one another.

When it comes to gesso, you are often going to find the following ingredients:

  • Ammonia
  • Amorphous Silica
  • Calcium Carbonate
  • Propylene Glycol

These were found in the Golden Acrylic Gesso

In a self-etching primer you will find the following:

  • Acetone
  • Propane
  • Hydrous Magnesium Silicate
  • Butane
  • Xylene
  • Butyl Acetate
  • Hydrotreated Light Distillate
  • Titanium Dioxide
  • Ethylbenzene
  • Zinc Phosphate
  • Carbon Black

These were found in the Rust-Oleum Automotive Self-Etching Primer

As you can see from the above, it will take a four-year degree in Chemistry to really make sense of it all!

But here’s the Cliff’s Notes (since we don’t have 4 years to learn about all these chemicals):

When a few of these ingredients of the self-etching primer interact with each other, it creates a phosphoric acid mixture that will not only bind to the metal surface with ease, but more importantly, stop the spread of rust (i.e. its primary purpose).

As an artist, the unique results of applying self-etching primer will give you an incredibly smooth surface with ample tooth that will hold the medium of choice with ease.

So, why can’t you use gesso?

Unlike self-etching primer that ‘sticks’ to the metal surface, gesso will be susceptible to peeling.

Making it not suitable for archival purposes.

Optional Step: Gesso On Top Of Self-Etching Primer

Now there are some artists out there not willing to give up completely on their gesso…

…and that’s ok!

In fact, it’s completely fine to add gesso on top of the self-etching primer if you desire!

However, there’s a catch:

Given that most gesso or primers are mixed with a chalk or other white substance, you will lose much of the qualities that make metal the unique surface that it is.

Therefore, while technically you could add this coat to get the desired texture or surface you are seeking, we would heavily advise against it (or at minimum, use gesso with great restraint) if you are planning on showcasing the raw metal in your final piece.

oil or acrylic on metal

Should You Use Oil Or Acrylic On Metal?

As we briefly touched on earlier, it really comes down to personal preference.

Therefore, if you don’t mind the extended drying times but are looking to get the intense and vibrant colors, then oil will work just fine.

However, if you are looking for a quicker turnaround time but slightly darker colors, then acrylic will also be suitable.

Even if you are looking to mix both mediums together in the piece (i.e. acrylic wash + oil overpainting), a metal surface will of course have an ample backbone to easily support any amount of medium that you throw at it.

But check this out:

While some artists may get carried away with their mediums when using a surface like metal, it’s important to still stick to the tried and true rules of painting:

Fat over lean.

Be sure that when painting your piece, that you always apply gradually thicker layers to your piece.

This will ensure that there is no peeling or cracking in the final piece of work.

This rule becomes even more important with a rigid (and not very forgiving) surface like metal.

Don’t Use Your Typical Varnish When Painting On Metal

Just like gesso, your go-to varnish is likely not going to be sufficient for your finished piece on metal…

…especially if you plan on hanging it outside or in an area that is susceptible to direct sunlight.

When browsing the aisles of your local art store or your favorite online retailer, you are going to want to select a varnish that has UV protection baked in.

As demonstrated in the graphic below, a UV resistant varnish will reflect the sunlight off the surface of the painting.  This helps preserve the brilliance of the colors you originally painted with.

different types of varnish, regular uv

One of our favorites is this one by Winsor & Newton.

Winsor & Newton offers this UV varnish in several different finishes including gloss, matt, and satin.

Not only will you get the adequate UV protection that you are looking for, but also you won’t have to compromise on your finished piece and can get the right varnish.

Final Thoughts For Painting On Metal

While metal can be a fun surface to paint on, as we discovered above, the necessary prep work can be a bit taxing for some artists should this become a regular surface that you work with.

However, if you are looking for a new surface to explore while you try and unlock your potential, metal can open your mind to some unique surface properties.

Who knows, perhaps you could be the next Nicolas Lancret!