The art of painting in and of itself is rewarding in many ways.
From therapeutic, to profitable, and just generally fulfilling, painting provides numerous outlets for an artist. Beyond the actual craft of painting is an artist’s ability to make their own paint.
Composing your own paint to work with is a gratifying task that portrays an appreciation for the painting method of art work from beginning to end.
As an artist, making your own paint is an experience for you to become more invested and fulfilled with the entire creative process.
By putting such hard work into the entire process you will gain more of an appreciation for your work in the end.
Making acrylic paint allows you to save money while creating the exact paint you would like to work with. Buying powdered pigments and a large container of acrylic medium as opposed to paint in tubes or jars allows you to create much more paint at a minor cost.
You’ll get the same wonderful acrylic paint in the end, for less money.
What more can you ask for?
Table of Contents
DIY Acrylic Means Full Control
Another advantage to making your own acrylic paint is that you are in control of what is going into the paint that you will be working with.
This means that you have the ability to reduce the use of toxic if you so choose in order to ensure the paint you will be working with will not cause any harsh reactions.

Types of Pigments
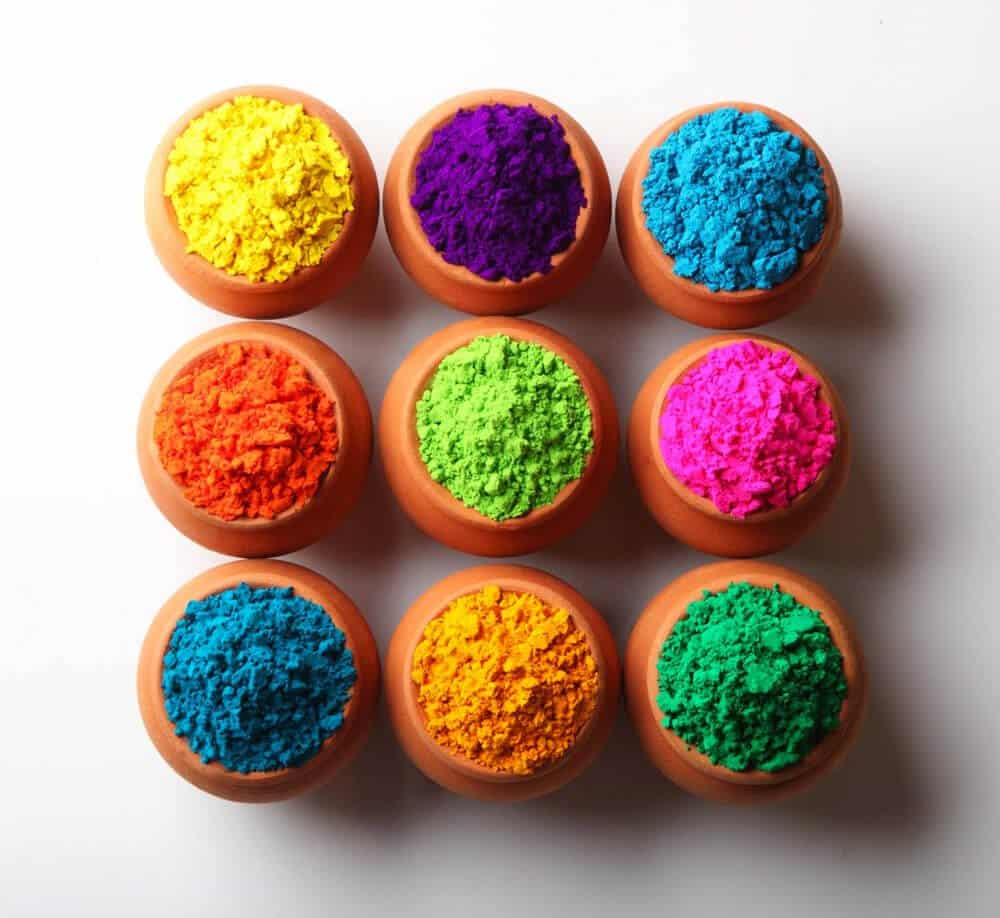
There are many types of pigments you can choose from when gathering your supplies.
Many years ago pigments were made naturally with items occurring in the environment.
Today there are three types of pigments:
- Organic
- Inorganic
- Lake
Organic Pigments
Organic pigments are composed of carbon compounds and are chemically synthesized and are complex in creation.
They are not found in nature.
Since organic pigments are created they have less levels of toxicity, which is confusing since when you think of something being directly found in nature being natural. Yet, because they contain carbon they do not provide much of an environmental concern.
Organic pigments are stable and cost effective.
They create bright, pure, and rich colors that have a great stability to solvents, light, heat, and weathering. Examples of organic pigments are alizarian, azo pigments which are from the yellow to red color range, phthalocayanie which are from the blue to green color range, and quinacridone which is a violet red pigment.
Inorganic Pigments
Inorganic pigments are mineral in origin and basically known to be more natural. They have less of a chemical structure and are created through nature, which is the opposite of organic pigments.
Preparing inorganic pigments is also less complex than organic pigment preparation. Examples of inorganic pigments are lead oxide, cobalt blue, chromium oxide, cadmium yellow, molybdate orange, and nickel titanate.
Lake Pigments
Lake pigments are created by mixing organic dye with an inert binder or mordant, usually a metallic salt.
Lake pigments are dyes but still fall into the pigment category. They do not work with certain liquid binders or thinners and as such act as dyes. Lakes provide a range of colors for the production of paints.
How to Make Acrylic Paint
Supplies needed:
- Pigments
- Water or clear alcohol
- Steel Spatula or Glass Muller
- Binder or Medium
- Glass surface to mix on
Step 1: Disburse the pigments in water or alcohol on the glass surface.
It is recommended to do a 50/50 liquid to pigment mixture. You may have more success with alcohol than water since alcohol is less dense than water and the pigments will disperse more easily. Earth Pigments offers a wonderful array of kits & sets that are non-toxic, with their introductory pigment set starting at $34. Over on dickblick.com a set of 15 colors by Sinopia is also available.
Step 2: Grind the pigment.
Once the pigment becomes wet begin grinding it with your muller or spatula so it disperses evenly. Continue to grind with pressure until you do not feel any hard areas or lumps.
Note that as you continue to work the liquid and pigment you will realize the need to experiment with either adding more pigment, or more liquid.
A great tip for adding more liquid would be to use an eye dropper so that you can add small amounts at a time.
Step 3: Mix
When the pigment is dispersed evenly you can begin adding in your chosen medium and combining.
Remember that depending on the medium you have chosen the paint will either be matte or glossy on the surface. Liquitex is a popular matte medium available at an affordable price that creates a non-reflecting finish.

Step 4: Store
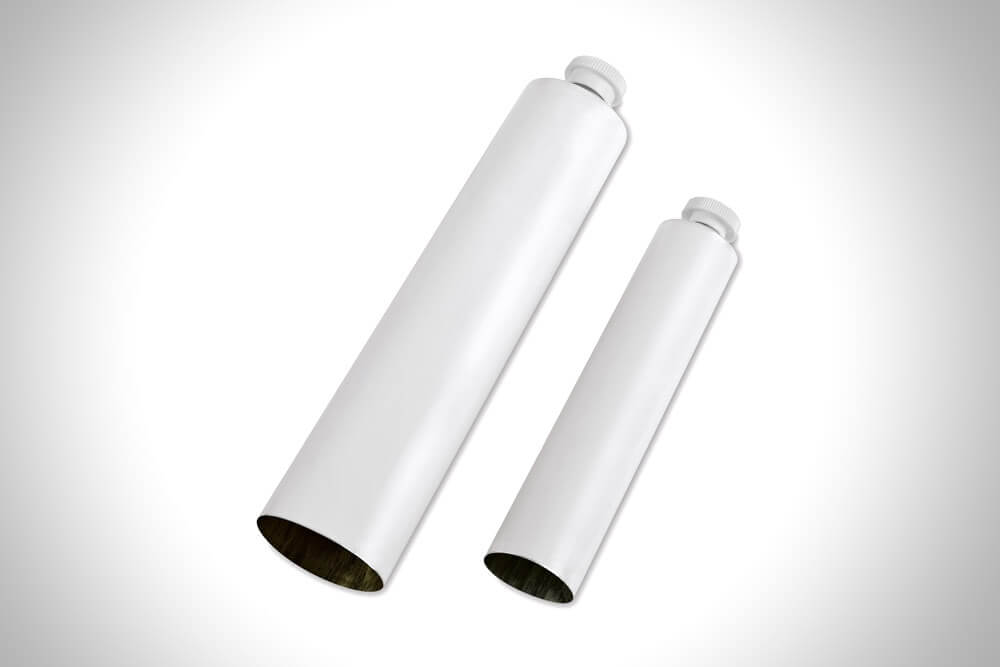
You can store your finished paint in tubes or glass containers. There are a few options here for you to choose from to keep your created acrylic paint.
Remember to secure the container tightly as acrylic paint does dry up faster than other types of paint.
Reminders When Creating Your Own Acrylic Paint
Do remember to be extra careful when creating your own acrylic paint, especially if you are not completely and totally aware as to the ingredients in the pigment you are working with.
It is smart to work in a ventilated area, and even a garage where you are out of reach of other people or animals in your home.
Use a breathing mask as to not breathe in the fine dust of the pigment, and even protective glasses to ensure nothing gets into your eyes.
One of the best parts about creating your own acrylic paint is that you can combine different pigments to produce a color of your choosing.
The color of the paint that you made will be an original that you cannot specifically buy in a store, and that alone should be enough.
Originality is unmatched in an artist’s world!